 |
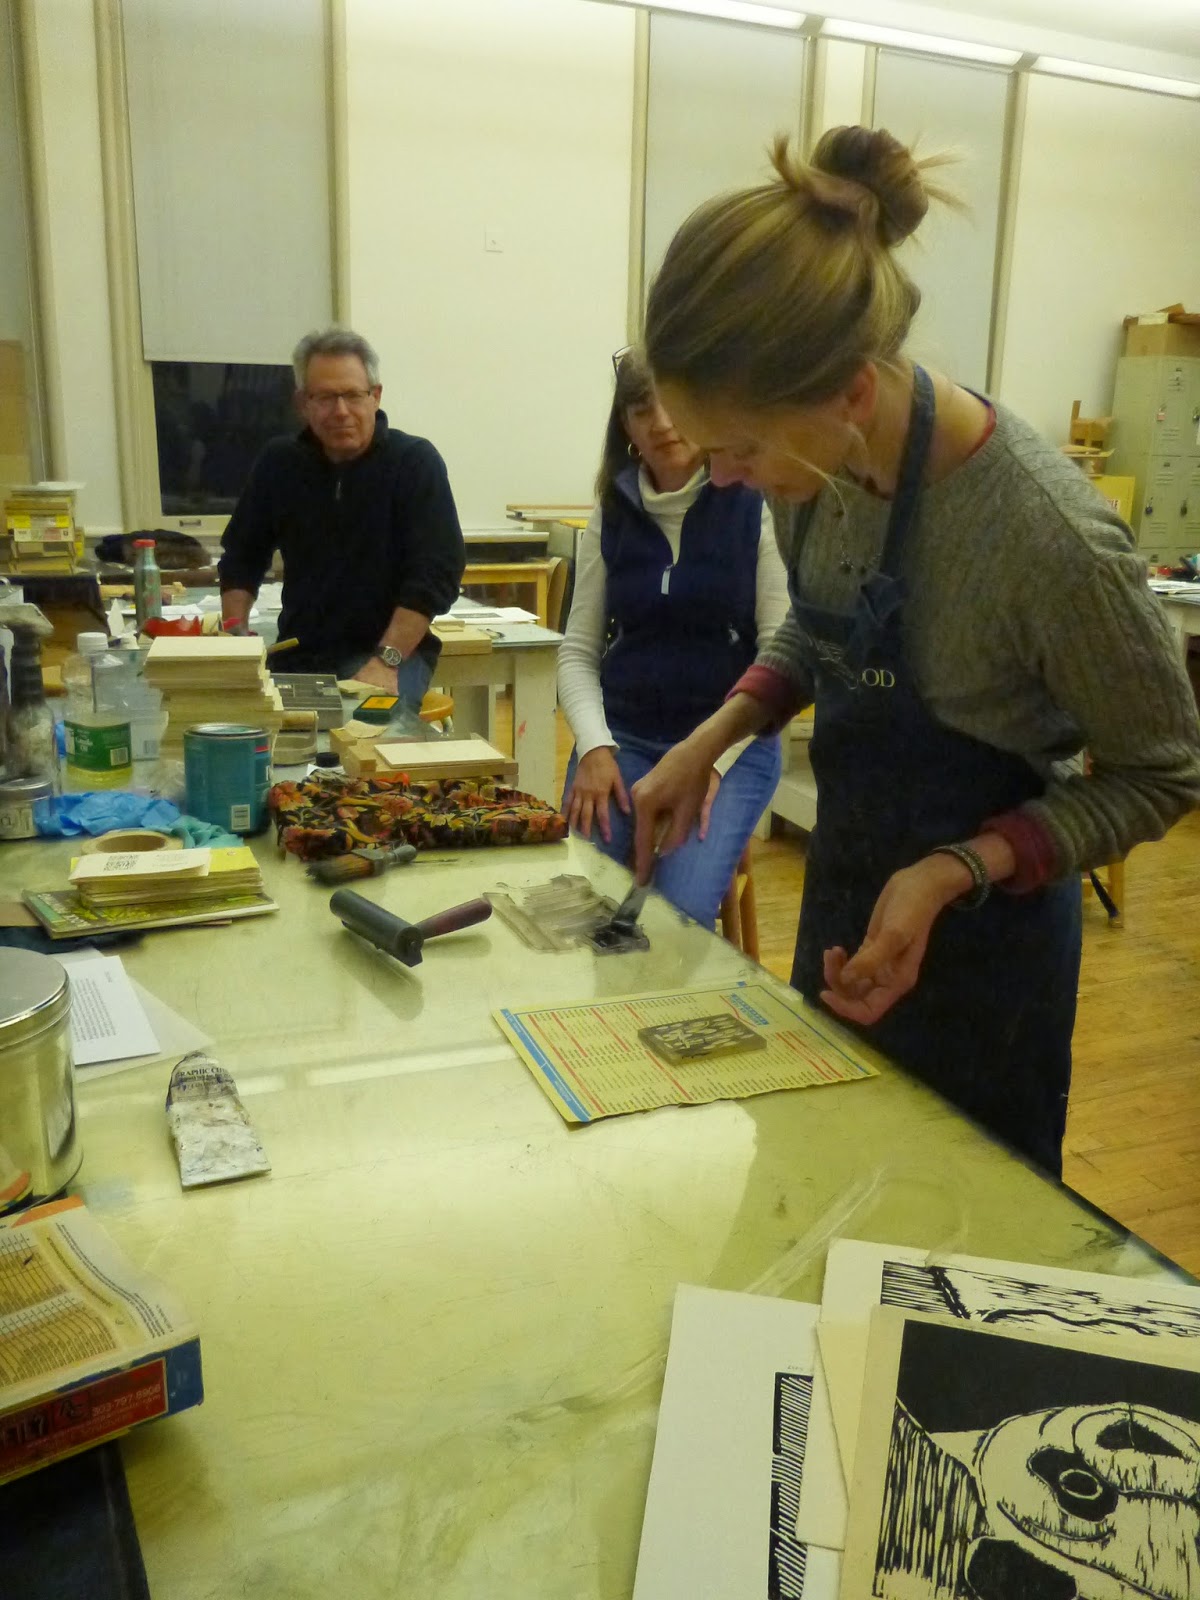
| Here our teacher demonstrates how to ready the ink for rolling on the woodcut. |
 |
| Here is the design I chose and the visual image I drew from. |
 |
| We use a bench hook to hold our piece of wood and cutting tools. The type of wood is poplar plywood. |
 |
| Inking the outline onto the other pieces of wood. |
 |
| Here is the mat board assemblage we made to register our prints. (So they line up every time) |
 |
| After I carved the outline out we made a print to the other pieces of wood I will be carving for each color. |
 |
| The first step in printing was to do a tan background. |
 |
| We only had 8 people in our class. This is our room. Note the huge drying rack on the left where we left our prints to dry. |
 |
| Second color is blue. Printed onto of the tan. |
 |
| Next is Brown for the hawk. |
 |
| We hung up our prints from everyone in the class. |
 |
| Drying rack. |
 |
| We had two printing presses for our class. |


No comments:
Post a Comment